5.9 KiB
Purpose
We're going to be looking at how to create a server setup file that doesn't trigger any prompts that aren't user friendly. This setup file will contain another signed file that will launch a basic web server. The setup file will create the server file and a firewall rule for the server file. We will be building two files (setup.go and server.go) separately .
The Server File
We're creating our web server file, building it and signing the application.
Creating the Server File
First of all, you'll want to install Golang: https://golang.org/dl/ and Git for Windows: https://git-scm.com/download/win
Then you'll want to install goversioninfo by running the following in a command prompt:
go get github.com/josephspurrier/goversioninfo/cmd/goversioninfo
This will allow us to set the name of the program, version, publisher name, etc.
Download server.go by running the following in a command prompt:
# Download the server file.
powershell -Command Invoke-WebRequest -OutFile server.go https://git.rootprojects.org/josh/code-signing-final/raw/branch/master/All/server.go

# Download a pre-made config file for goversioninfo:

powershell -Command Invoke-WebRequest -OutFile versioninfo.json https://git.rootprojects.org/josh/code-signing-final/raw/branch/master/All/versioninfo.json
This will create a configuration file named versioninfo.json in the current directory. There are three things you will want to edit: 1. The version of the application, 2. The "publisher" or company name and 3. The product name.

Near the top of the file, you will see FileVersion and ProductVersion.
You can set normal major, minor, patch and build versions for those values. The FileVersion is the version of the file and ProductVersion is the version of the application as a whole. You can most likely use the same version for both unless you're doing something unusual. You will set the same values again under StringFileInfo.
Next, you can set the "publisher name" by filling in the CompanyName value with the name of your organization.
Lastly, you can give your application a name, like "Go Web Server" under the ProductName value.
# Generate the info goversioninfo needs by running the following in a command prompt:
go generate
# Next, build your server app.
go build -o server.exe -ldflags "-s -w -H=windowsgui"
You will want to sign your application, the next section will show you how.
Signing the Setup File
Getting a Code Signing Certificate
Be aware that you will likely need to create a Dun & Bradstreet listing to get an "organization" code-signing certificate: https://www.dandb.com/businessdirectory/products/ (this is free)
You can purchase a code-signing certificate here: https://cheapsslsecurity.com/comodo/codesigningcertificate.html The validation process will take 1-3 business days if your information is correct and you give them your D-U-N-S (Dun & Bradstreet) number. After you receive an email containing a link to the certificate, follow these directions in the exact same browser as the one you used to request the certificate : https://cheapsslsecurity.com/downloads.aspx?ispdf=true&iscs=true&filenm=Comodo_Code_Signing_Collection_Guide.pdf
Put this certificate in the same folder as your server.exe file.
Signing the File
Next, you will need to install Visual Studio. You can download Visual Studio here: https://visualstudio.microsoft.com/thank-you-downloading-visual-studio/?sku=Community
In the install process, you will be greeted with this screen:

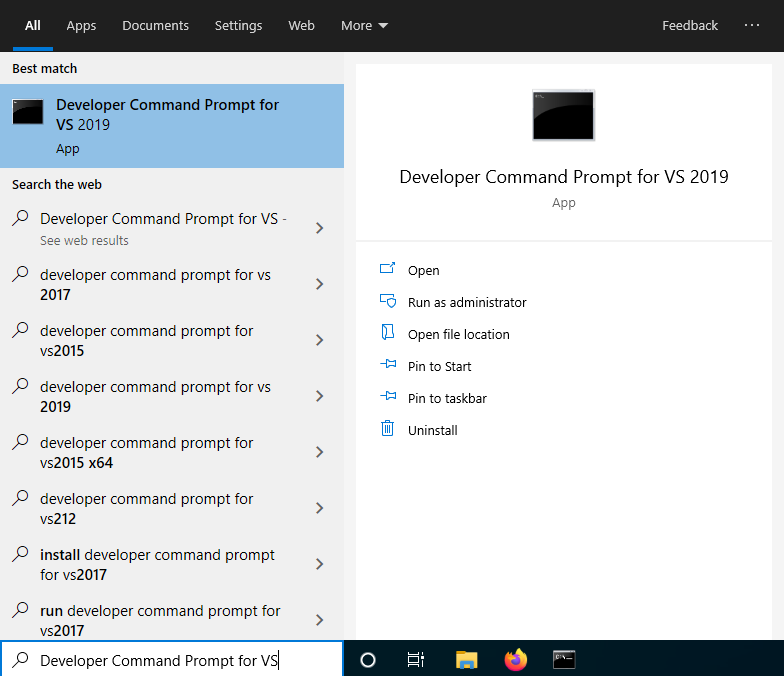
Choose the "Universal Windows Platform Development" workload. After you have finished installing Visual Studio, open a "Developer Command Prompt for VS". Navigate to the folder your server.exe file is in.
# Sign a file with your certificate. Replace the code-signing certificate and password values with your own.
SignTool sign /t http://timestamp.comodoca.com /f codesigning.p12 /p <Password> server.exe
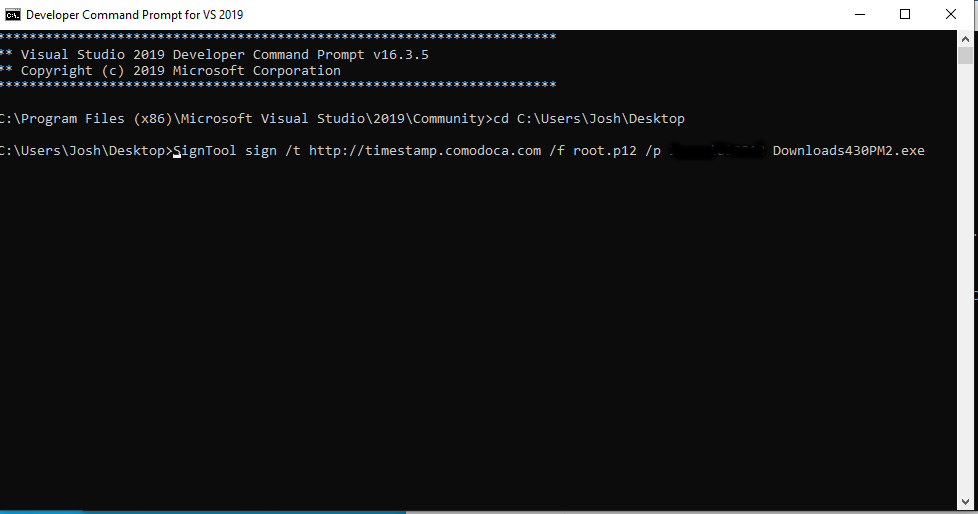
You should see something like this:

The Setup File
Now we're going to create the setup file that will create the firewall rule we need and "create" the server file for us.
# Download the server file.
powershell -Command Invoke-WebRequest -OutFile setup.go https://git.rootprojects.org/josh/code-signing-final/raw/branch/master/All/setup.go
# And the manifest file to allow it to have administrator privileges.
powershell -Command Invoke-WebRequest -OutFile setup.exe.manifest https://git.rootprojects.org/josh/code-signing-final/raw/branch/master/All/setup.exe.manifest
Rename server.go to server.go_
Put the Server File In the Setup File
We need to install fileb0x to be able to store our server file server.exe in our setup file setup.exe.
# Install fileb0x
go get -u github.com/UnnoTed/fileb0x
Download a pre-made configuration file by running this in the command prompt:
# Download the config file.
powershell -Command Invoke-WebRequest -OutFile b0x.json https://git.rootprojects.org/josh/code-signing-final/raw/branch/master/All/b0x.json
# Create a fileb0x
fileb0x b0x.json
This will create a folder named static with a file in it. You will then need to copy that folder to your $GOPATH/src/ (usually C:\Users\<Username>\go\src\).
# Use the right config for goversioninfo
go generate
# Build the setup application.
go build -o setup.exe -ldflags "-s -w -H=windowsgui"
Refer back to the instructions on How to Sign a File to sign your setup file as well. Then you're done! Just run setup.exe.
WIP: Service
Service: https://docs.microsoft.com/en-us/powershell/module/microsoft.powershell.management/new-service?view=powershell-6 Credential seems to be what makes it admin or not: https://docs.microsoft.com/en-us/powershell/module/microsoft.powershell.management/set-service?view=powershell-6